
If you are a resort skier looking to expand your boundaries, then you’ve surely thought about jumping on the backcountry skiing bandwagon. But you can’t just take your alpine setup and start hiking mountains. You need to purchase (and learn how to use) specialized backcountry skiing and snowboarding gear. Below is a list of essential gear that every backcountry skier needs to own.
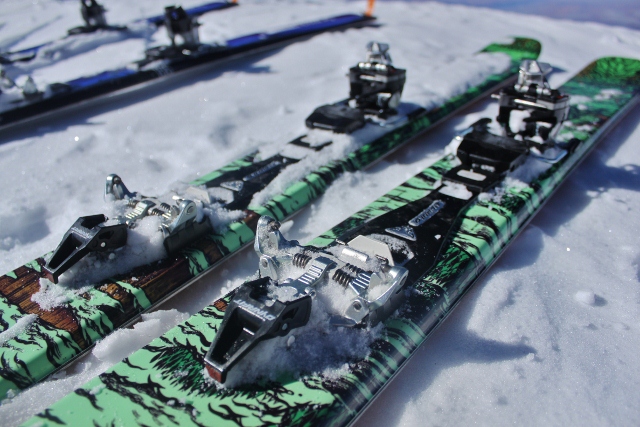
“Free your heel and your mind will follow.” That’s a term used by Telemarkers, but it applies to alpine touring as well. If you can’t lift your heel, you won’t be able to walk uphill with your skis on your feet. Touring bindings allow your heels to rise, but then clamp down like alpine bindings when you are ready to ski. There are many different styles of touring bindings available, but the gold standard for performance on both the uphill and the down are tech bindings like the Dynafit Radical FT. This is the model I use and I love them to pieces. They are light weight but burly enough to charge on the down. Heel risers are top notch for when the skintrack gets steep (and they are easy to engage with a pole), and they’ve endured many seasons of hard beatings.

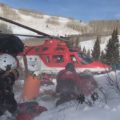
Not only do you need bindings that go uphill, you also need boots that do the same. Proper touring boots have a “walk mode” – a switch that you flip on the back of the cuff that releases the upper shell, allowing your ankle a range of motion to make walking in plastic hunks much easier and more comfortable. A good backcountry boot will have a decent range of motion, but still be stiff enough to ski like an alpine boot on the down. Right now I’m excited about the Salomon MTN LAB. These boots are very light, have a respectable 47-degree ROM, and a 120 flex for the down. Word is, they go up like rando boots and down like burly alpine crushers.
Climbing skins are a requirement if you want to move through mountains. They are adhesive strips of fabric that stick to the bottom of your skis, giving you traction as you walk uphill. Many versions of skins exist, but my favorite is the tried-and-true Back Diamond Ascension skins. They are a bit heavy, but the nylon sticks to snow like Velcro. Plus I’ve found the glue to be long-lasting, and the front and back clips are reliable. These skins are tried and true.
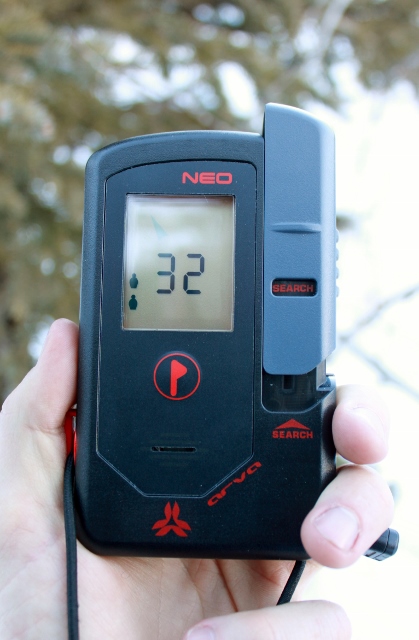
If there is an avalanche and you are buried, your only hope for survival lies with your beacon. And if your friend is buried, the only way you’ll find him/her is with your beacon. This device is perhaps the most important piece of gear you can bring into the backcountry, so it’s important you buy one that is full of new technology and is easy to understand and use. A newer beacon that I like is the Arva Neo. It has serious range so you can detect signals up to 60 meters away, has important features like group check, and multiple burial recognition, plus it’s easy to operate with gloved hands.
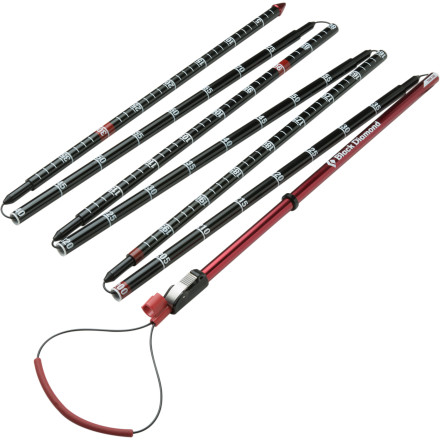
Do not discount the importance of a probe. When you hone in on a buried beacon signal, the probe allows you to pinpoint the victim so you know their location and depth. Many probes are out there from dozens of companies, and they’re all pretty much the same. I use the Black Diamond QuickDraw Tour 280. It’s right in the mid-range of light weight and length, and the one-pull QuickDraw deployment system gets you probing fast when you need it.

Once you find a buried avalanche victim’s location, you’ll need to start digging, and fast. A good, quality shovel is essential. Don’t cheap out on one that’s small or (God forbid) made of plastic. I carry the Black Diamond Evac 7 shovel in my pack. The telescoping handle deploys fast, and it’s made from durable aluminum. But its most awesome feature is that you can transform it into a hoe. Just detach the shovel head, flip it around and reattach. Now you can move snow away even more efficiently.

Avalanche airbag packs are all the rage these days. Some say they give you a false sense of security, while others point to statistics that prove wearing a deployed airbag when caught in an avalanche increases your chances of survival. The downside is airbag packs are expensive. If I could afford one, I would buy the Black Diamond Halo 28 JetForce. But it costs the same as my monthly mortgage payment at a hefty $1,500. A more affordable option (and the one I use) is the Float 32 by Backcountry Access. At $550, it’s much easier on the wallet, and the pack has all the backcountry-specific features you’ll need.
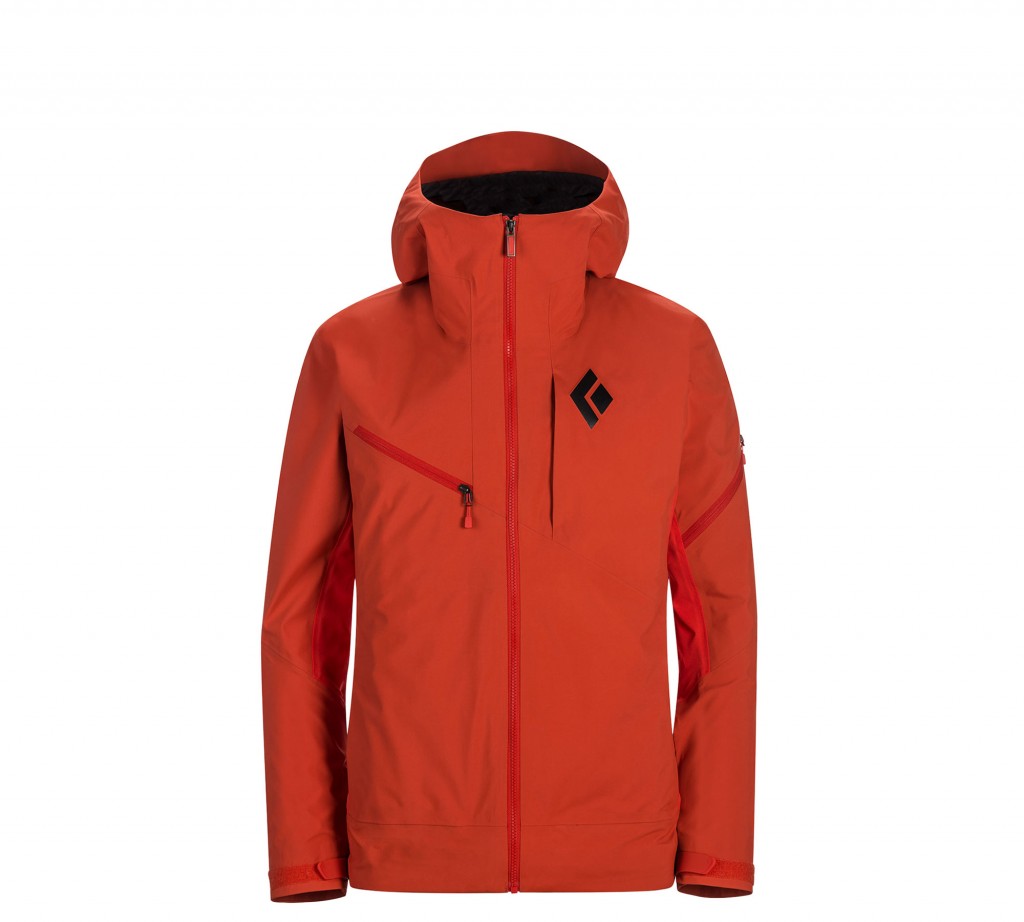
Layering is key when touring the backcountry, from base layers to shells. Skinning is a sweaty, high-output activity, so you need clothes that breathe while still protecting you from the elements. Here in Utah, the snow is light and dry, so the most burly, Gore Tex setup is overkill. Try something more versatile, like the Black Diamond Recon shell and pants. These pieces are hybrids that use Windstopper and Schoeller materials to keep you dry from the inside and outside. If I were in the market for a new backcountry kit, this would be my choice.
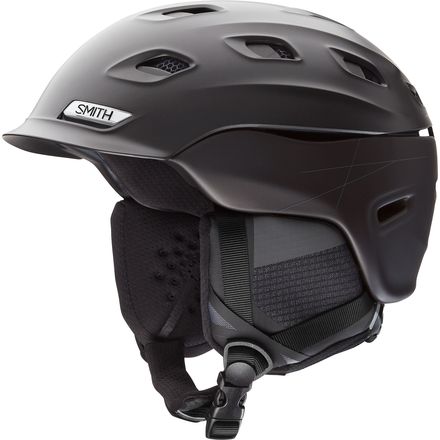
Trees, rocks buried just under the snow, your friend’s ski edges, there are countless ways you can smash your skull while speeding down a mountain. But guess what? There is no ski patrol to come rescue you if you suffer a head injury. Increase your chances by always wearing a helmet. My favorite helmet ever since it was released is the Smith Vantage Helmet. It fits perfect with a Boa system, features Aerocore Technology with four Koroyd inserts that absorb more energy on impact, and removable ear pads for warm, spring skiing.
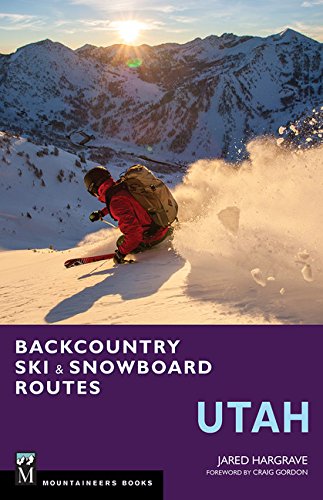
So you’ve got all the gear to ski the backcountry, but how do you know where to go? The mountains of Utah are littered with avalanche zones, cliffs, and innumerable ways to get lost. Take the guessing game out of the equation and buy a guide book. A good book will give you a base knowledge of the mountains you’re skiing in, and from there you can expand out into even wilder zones that are “off the map.” Because backcountry skiing is all about exploration and finding your own way… remember, there are no boundaries. I just had a new guide book published by Mountaineers Books titled, Backcountry Ski and Snowboard Routes: Utah, and it will show you the way at almost all of Utah’s mountain ranges.
If you are new to the backcountry, now s the time to make your to-buy list from above, gather the gear you need, and get educated by taking avalanche courses and by reading your local avalanche advisory every day. Ski with partners who can mentor you in the backcountry. Be smart, and we’ll see you in the mountains!